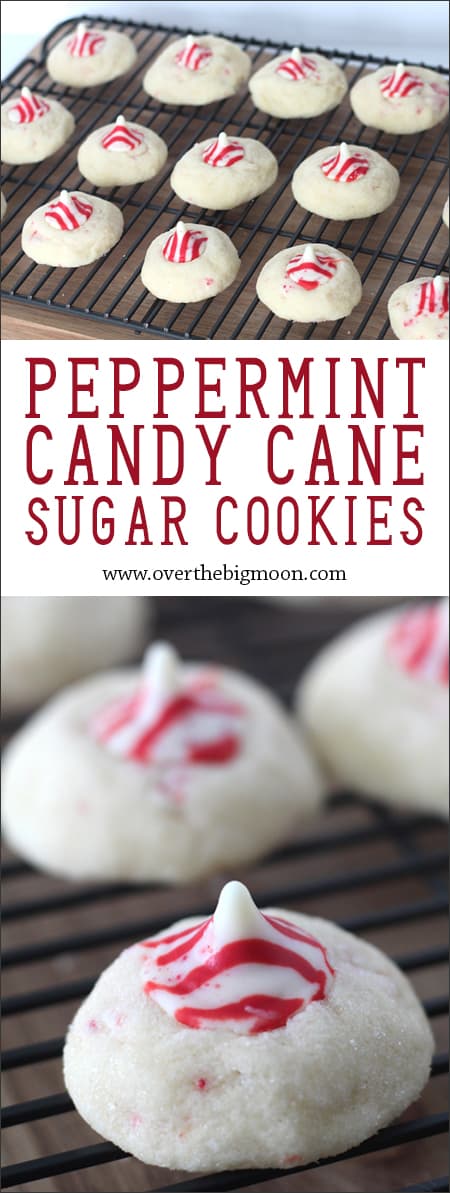
This Peppermint Candy Cane Sugar Cookie is the ultimate Christmas cookie! The addition of the Peppermint Kiss on top is the perfect touch!
Today I’ve got the perfect Christmas cookie for you – Peppermint Sugar Cookies! This recipe was originally shared by my friend McKenna. But, the recipe needed some new pictures and a little update! This is a must-try cookie during the Christmas season!

This recipe is super easy and has the perfect amount of peppermint flavor in my opinion! And the Candy Cane Hershey Kisses seriously adds such a yummy flavor!


Peppermint Candy Cane Sugar Cookie
Ingredients
- 1 ½ cups Powdered Sugar
- 1 ¼ cups Butter room temperature
- 1 tsp Peppermint Extract or 3-5 drops of Peppermint Essential Oil optional
- 1 tsp Vanilla Extract
- 1 large Egg
- 3 cups All-Purpose Flour
- 1 tsp Baking Powder
- ½ tsp Salt
- ½ cup finely chopped Candy Cane flavored Hershey Kisses
- Granulated Sugar
- About 30 unwrapped Candy Cane Hershey Kisses
Instructions
- Preheat oven to 350°F. Make room in either refrigerator or freezer for your cookie sheet.
- In a large mixer bowl, combine powdered sugar, butter, extracts and egg. Beat at medium speed, scraping bowl often until creamy (2-3 minutes).
- In a separate bowl, whisk together flour, baking powder and salt. Add to wet mixture and beat, scraping bowl often until well blended (1-2 minutes). The mixture will be a bit crumbly. Stir in chopped Kisses.
- Shape dough into ¾-inch to 1-inch balls; roll in granulated sugar. Place 1-inch apart on cookie sheet.
- Bake for 10-12 minutes or until set. As soon as they come out of the oven, allow them to cool for 2 minutes. (Just enough to cool down, so they won't immediately start melting the Candy Cane Kiss when they touch the cookie.)
- Once barely cooled, press a Candy Cane Kiss in the center of each cookie. They’ll crack a little around the edges, so just use your fingers to hold the cookie together while you set the kiss inside. Put cookie sheet (with cookies) immediately into the freezer (preferred) or refrigerator, so that the Kisses will set quickly. As soon as you press them into the cookie, they will begin to soften… so if you can get them into the freezer then they will keep their Kiss shape.
- Store in a covered container- at room temperature for up to a week. In the freezer they should be good for a couple of weeks.
Notes

Don’t they look divine? They really are!
These are the perfect cookie to take to your Holiday Cookie Exchange or for your neighbor gift this year! Enjoy!!
Looking for more yummy cookie recipes?
Check out:

PB Cake Box Cookies | Snicker Doodle Cake Box Cupcakes | Sweet Waffle Donut
If you love this post, I’d love you to pin the image below! xoxo!
Julie
Made this many times, why the ads I can’t read the recipe. Ridiculous
Trudy
Had a great time trying new cookie recipes this year and this was one of my favorites. It is delicious and everyone I gave some to said so too! Thanks for the recipe. Happy New Year
Heather Laux
Can you refrigerate the dough before you bake them?
Cheryl
Looks yummy . It’s easier to freeze the kisses first. You can press them into the cookie as soon as they come out of the oven instead of putting pan in the freezer. I will be trying this recipe.
Pam Dana
That’s genius! Can’t wait to try that!